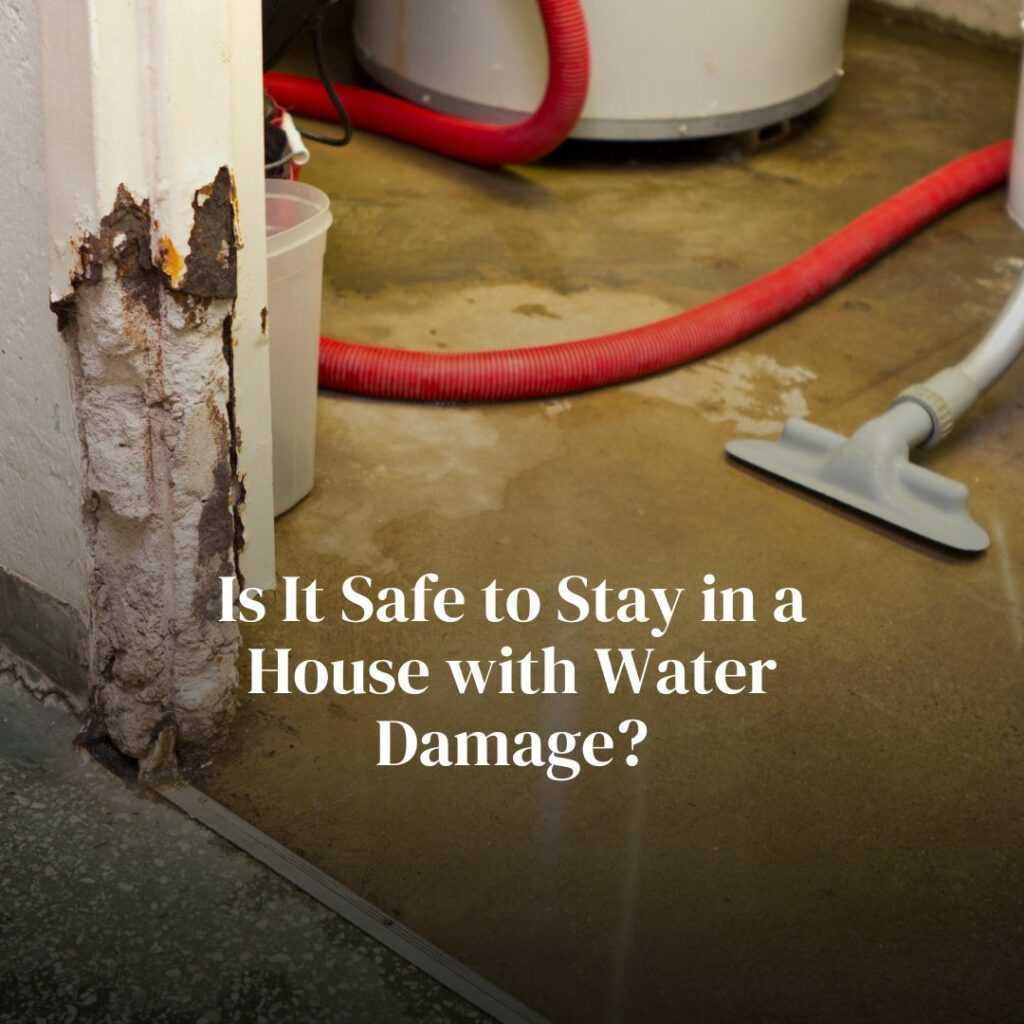
Water damage hits without mercy. One moment your home feels predictable and steady, and the next, water is sliding across floors, soaking through walls, and settling into places it has no business being. It does not matter whether it comes from a burst pipe, a leaking appliance, a roof leak after a storm, or rising floodwater. Once the water arrives, the clock starts its countdown. Every minute the moisture sits inside your home is a minute your walls, floors, and structure are silently taking damage.
Most people are shocked by how quickly water spreads. It does not stay where it lands. It travels, it seeps, it hides, and if you are not fast, it leaves behind mold, rot, odors, and long lasting problems. So when your house takes on water, you need clarity more than panic. You need a plan. Here is the full breakdown of what to do, how to stay safe, and how to give your home the best chance of recovery.
Step 1: Protect Yourself and Stop the Source
Before you touch anything, protect yourself. Water inside a home creates danger instantly. It can hide electrical hazards, weaken floors, and turn everyday areas into risky ground.
If the water is coming from a broken pipe or malfunctioning appliance, shut off your main water valve right away. If it is from outside, do what you can to block or redirect the flow until help arrives. And if there is any chance that water is near electrical outlets or breakers, do not walk through it. Shut off the electricity only if you can reach the panel safely. If not, call the utility company to cut power to your home.
Your safety comes first. Controlling the source comes second. Everything else waits until these two steps are handled.
Step 2: Document the Damage Before Cleaning
When water is rushing across your floor, the instinct is to grab a towel and start fighting it. But before you clean anything, document everything. Photos and videos give you a clear record of what happened. This helps with insurance, but it also helps you later if hidden issues show up.
Walk through your home with your phone camera. Record wide shots and close shots. Capture water lines on walls, soaked carpets, damaged furniture, warped floorboards, and anything that looks affected. Move slowly so every detail is saved.
Even if you never file a claim, this documentation becomes proof of what was lost and what needs to be repaired.
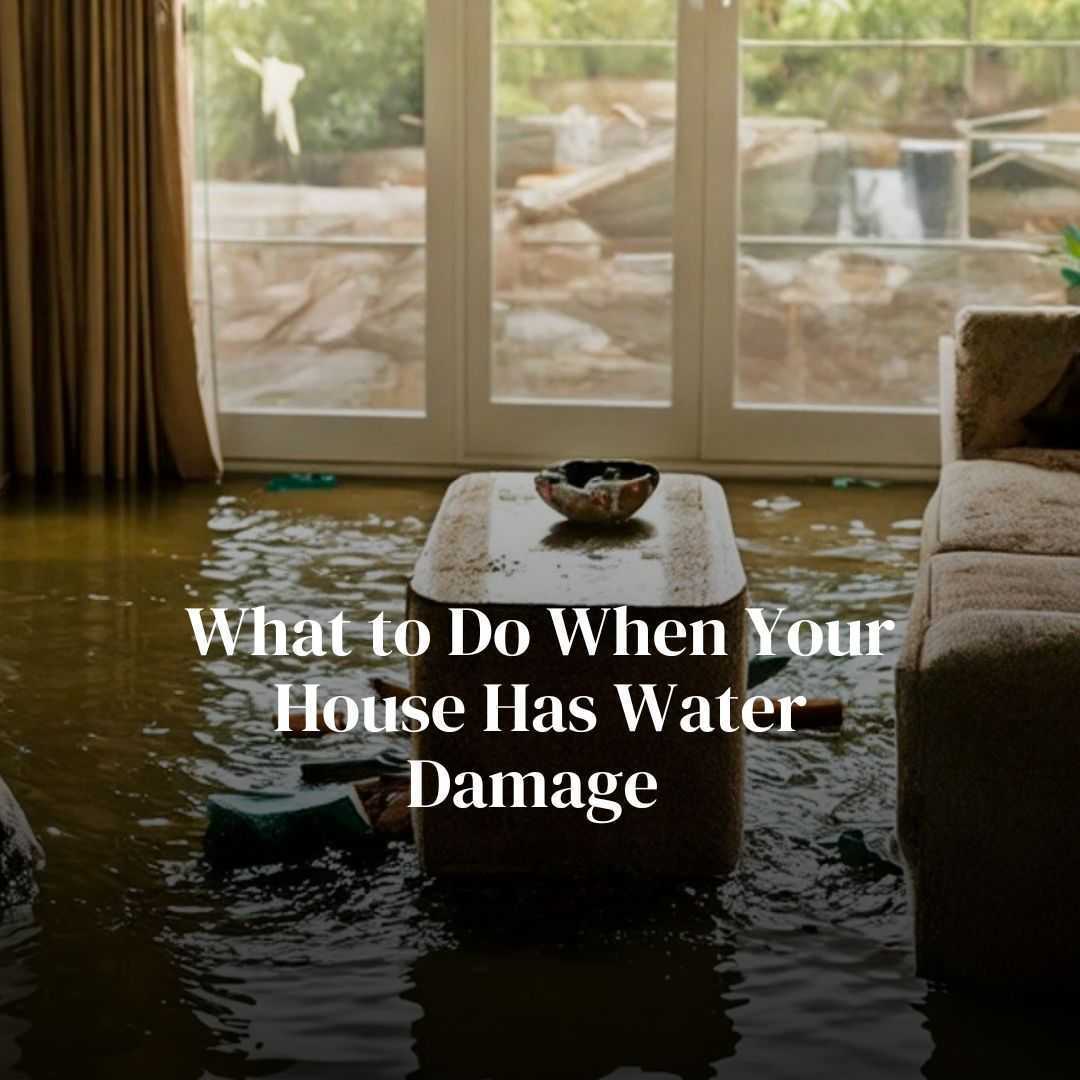
Step 3: Remove Standing Water Fast
Standing water cannot be ignored. It is the enemy. The longer it sits, the deeper it sinks into the structure of your home. Wood absorbs it. Drywall absorbs it. Subflooring absorbs it. If you leave it in place, the damage spreads from surface level problems to structural problems.
Start removing water right away if it is safe to do so. Use buckets, towels, a wet vac, or a pump if you have one. If the water is deep, you may need professional equipment. Move furniture and belongings out of the wet area and place them in a dry space so they have a chance to air out.
This stage is all about speed. Every minute counts.
Step 4: Begin the Drying Process
Removing visible water is only the beginning. The water you cannot see is where the real danger hides. It slips behind walls and under floors. It settles inside insulation and under tile. It clings to the structure itself.
Start drying immediately. Open windows if the weather is dry. Use fans and dehumidifiers. Move air through the home in every direction. But understand this clearly. Household drying is limited. What feels dry on the surface often stays soaked underneath.
Deep moisture is the reason mold appears days later. It is also the reason walls warp and floors buckle. True drying requires professional grade equipment that can reach inside materials and pull out hidden moisture.
The goal is not just to dry what you can see. The goal is to stop long term damage before it grows.
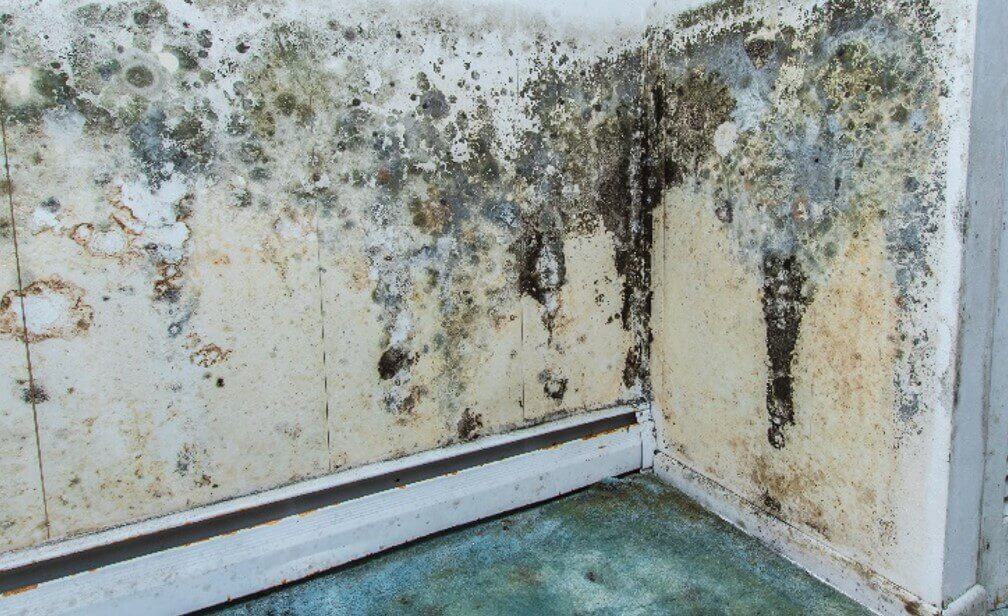
Step 5: Watch for Mold and Contamination
Water damage creates the perfect environment for mold. It can start growing in as little as one day. It loves dark, damp, unventilated spaces, and once it begins, it spreads quickly.
You need to watch for early signs. A musty smell. Soft or squishy walls. Stains that grow or change color. Wood that looks swollen or uneven. Paint that bubbles. These are the whispers of mold forming where you cannot see.
If the water source was dirty water from outside, from a drain, or from sewage, do not handle it alone. Contaminated water requires professional safety measures and sanitation. Bacteria and toxins are serious hazards in these cases.
Mold and contamination are the reasons fast response matters. They turn a simple leak into a major health problem if ignored.
Step 6: Remove Damaged Materials
This is the part most homeowners do not want to hear, but it is the truth. Some materials cannot be saved. Once water soaks into them, they stay wet inside even if they feel dry on the outside.
Drywall, insulation, carpet padding, particleboard, and some types of flooring are all vulnerable. If they are soaked, they usually need to be removed. Keeping them in place traps moisture behind your walls where mold thrives.
Professionals know exactly how much to remove and where to cut. They also know how to test moisture levels and determine what still holds water. This prevents future damage and keeps your home safe.
Think of removal as the reset button. It clears the path for clean, dry rebuilding.
Step 7 Clean and Sanitize the Area
Once the water is removed and the damaged materials are gone, the home needs to be cleaned and sanitized. Moisture leaves behind residue, bacteria, odors, and sometimes mold spores.
This stage usually includes antimicrobial treatments, deodorizing, surface cleaning, and air quality improvements. Even clean water can leave behind harmful particles that need to be removed before rebuilding begins.
Sanitation is a necessary step if you want the restored home to be safe and healthy for long term living.
Step 8: Understand the Full Extent of the Damage
Water damage is sneaky. It hides in places where you do not expect it. It runs down inside wall cavities. It seeps under baseboards. It gets trapped under hardwood. It can even move upward through capillary action in porous materials.
This is why professional inspection matters so much. They use moisture meters and thermal tools that reveal hidden water pockets. Without this step, a house can look perfectly dry while still holding moisture inside its structure.
Understanding the real scope of the damage is the difference between fixing the problem and covering it up.
Step 9: Start the Restoration and Rebuild Process
Once the home is dry, clean, and cleared of damaged materials, the restoration process begins. This can include replacing drywall, repainting, installing new flooring, repairing damaged framing, and restoring any areas affected by the water.
This stage turns chaos back into a livable space. Each home is different, but the process always follows the same idea. Remove the damage. Fix the structure. Restore the space. Bring the home back to the condition it was in before the water appeared.
Step 10: Call Professionals Early
Water damage restoration is not just cleanup. It is science. It is moisture control. It is structural safety. And it is a race against time. Professionals have the tools, the training, and the speed to stop damage before it spreads.
The earlier they arrive, the better your home recovers.